(Adding categories) |
No edit summary |
||
| Line 1: | Line 1: | ||
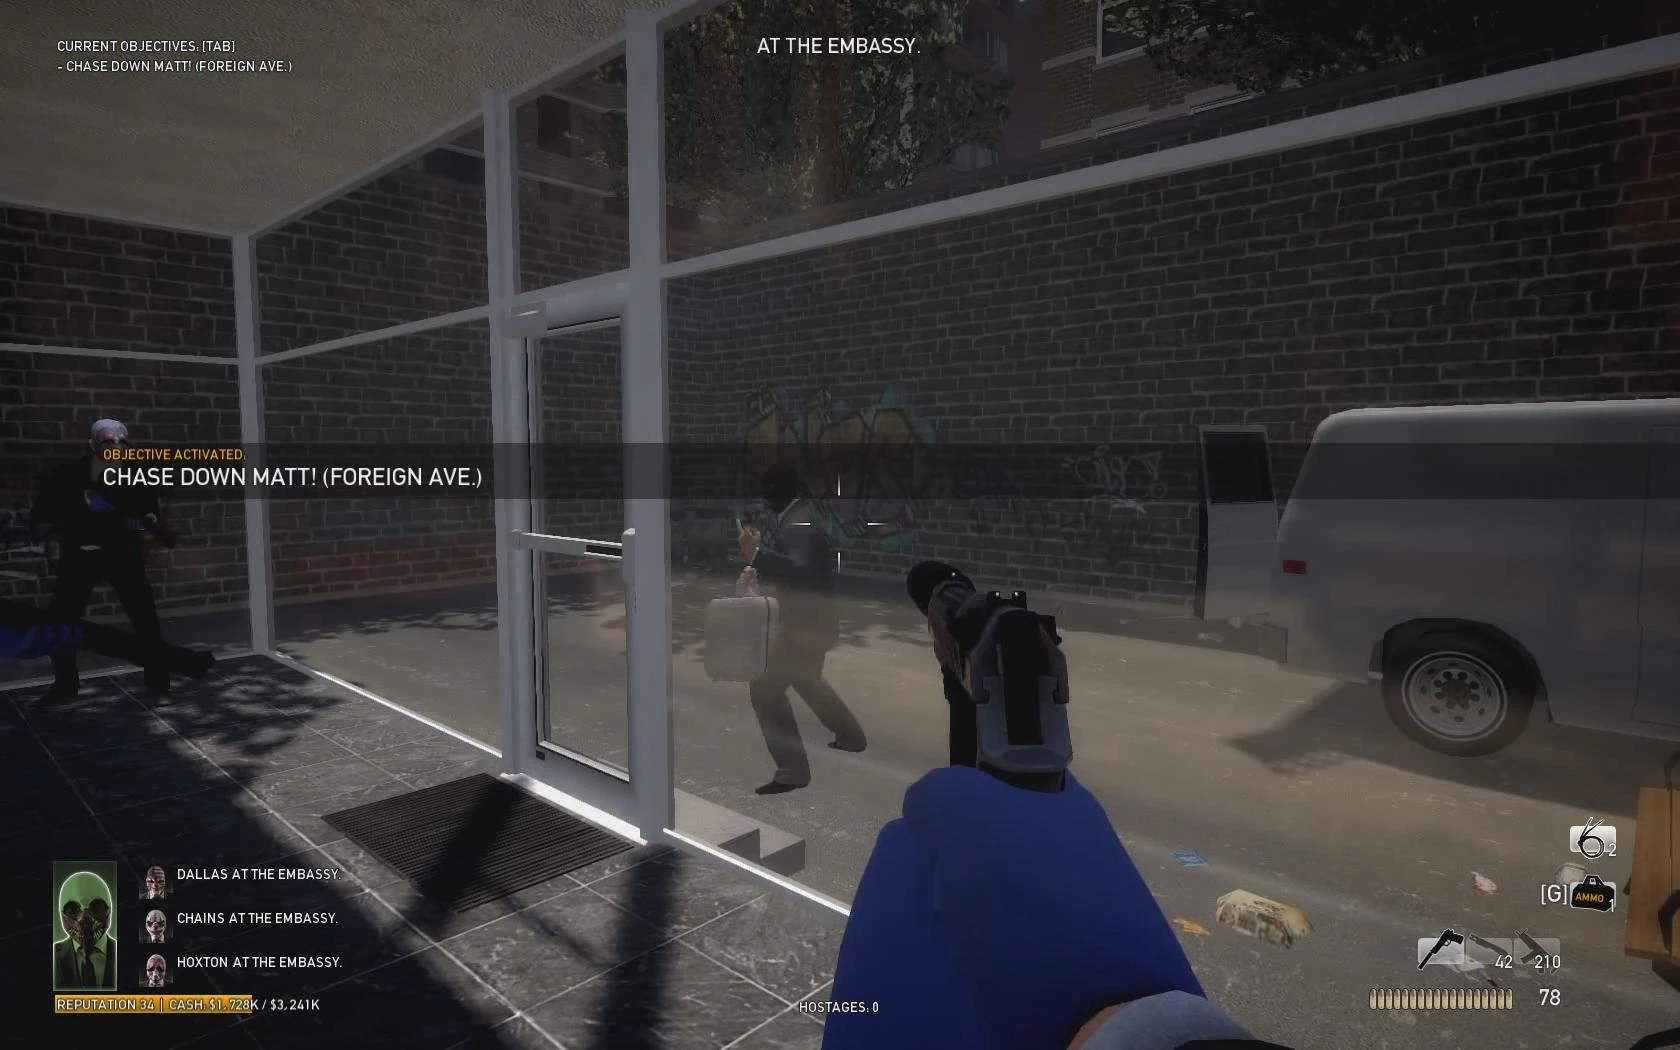
[[File:HeatStreet start.jpg|thumb|That middle finger was a big mistake.]] |
[[File:HeatStreet start.jpg|thumb|That middle finger was a big mistake.]] |
||
The second heist on the list is Heat Street - a classic double crossing situation: someone thought he was more clever than us and decided to screw us over by taking the valuables for himself and ratting us out to the police. Half the mission involves chasing down Matt, the other half involves getting away safely. |
The second heist on the list is Heat Street - a classic double crossing situation: someone thought he was more clever than us and decided to screw us over by taking the valuables for himself and ratting us out to the police. Half the mission involves chasing down Matt, the other half involves getting away safely. |
||
| + | |||
==Walkthrough== |
==Walkthrough== |
||
| − | + | ===Chase down Matt=== |
|
| + | |||
Pretty simple objective, all you have to do is get out of the starting building, take a right, shoot a few Police Officers along the way. Be wary, however, because there are many civilians running through the streets, and it's all too easy to shoot one that happens to run in-front if you or your enemies. Bain (your contact) will immediately start looking for a way to catch up with Matt. |
Pretty simple objective, all you have to do is get out of the starting building, take a right, shoot a few Police Officers along the way. Be wary, however, because there are many civilians running through the streets, and it's all too easy to shoot one that happens to run in-front if you or your enemies. Bain (your contact) will immediately start looking for a way to catch up with Matt. |
||
| − | + | ===Meet up with Bruce=== |
|
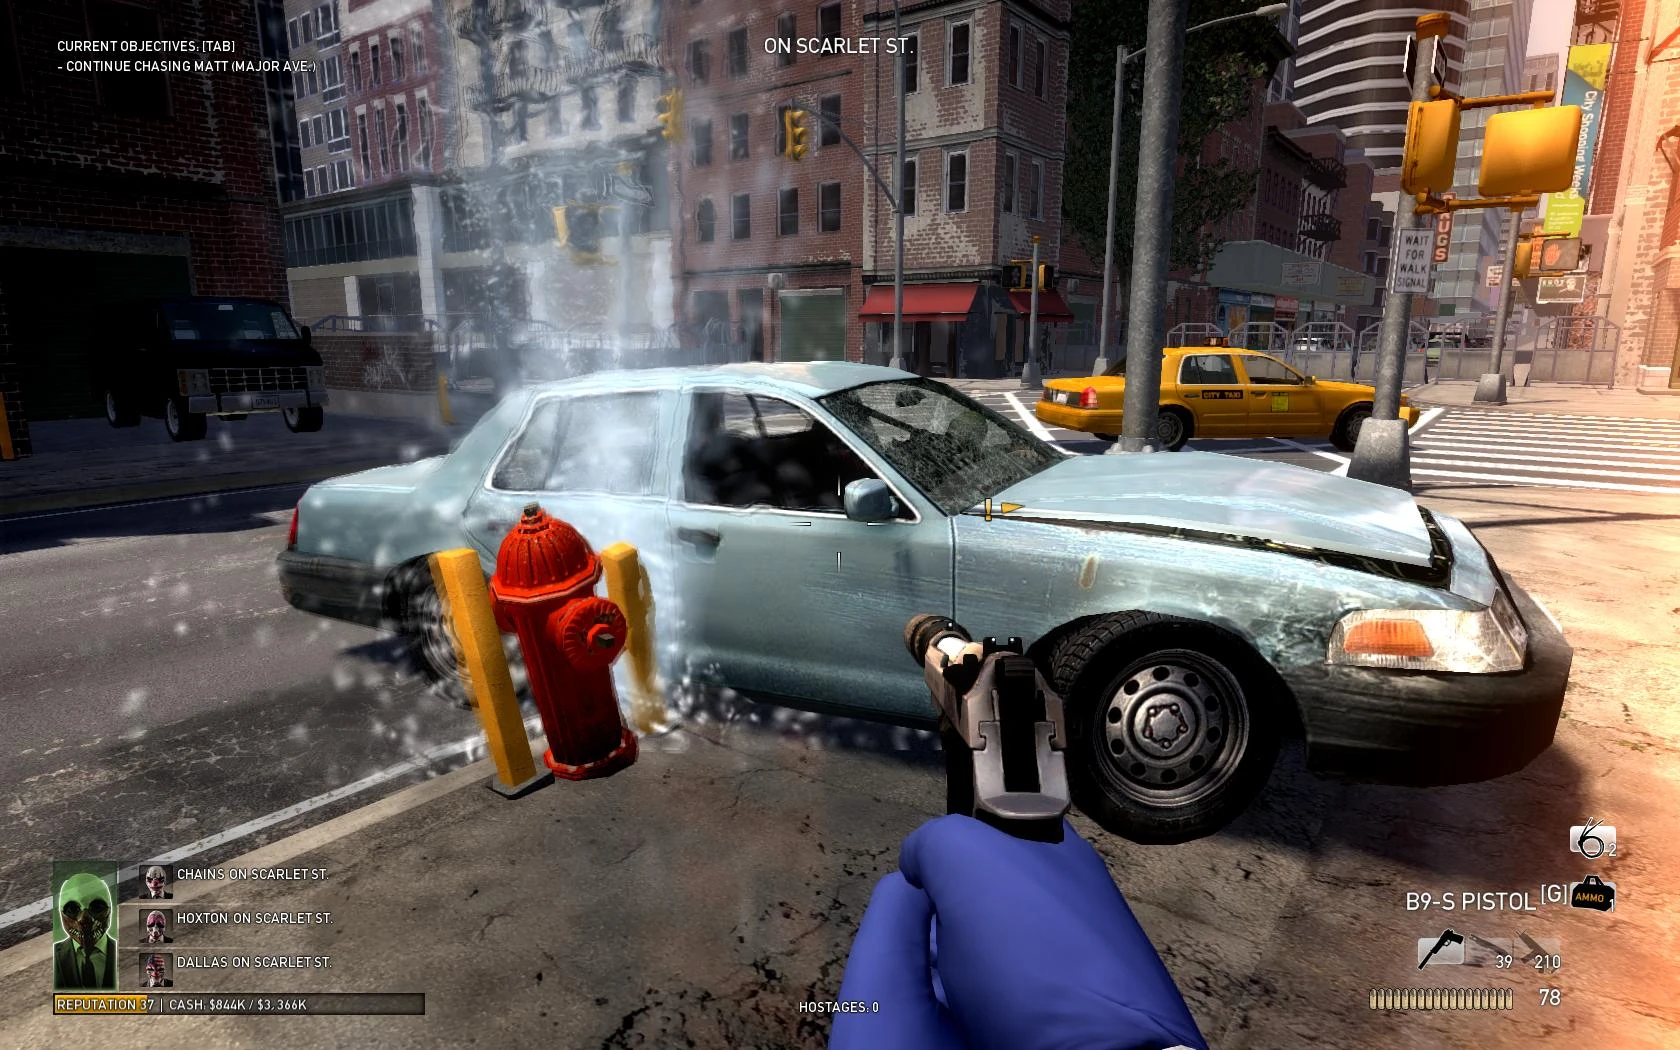
[[File:HeatStreet Bruce.jpg|thumb|Damn, that guy was trying to help.]] |
[[File:HeatStreet Bruce.jpg|thumb|Damn, that guy was trying to help.]] |
||
Bain managed to find you a driver to chase Matt. Follow the street forward, you will encounter a small police blockade you will have to shoot your way through. Unfortunately, Bruce is shot by the cops trying to get to you and smashes into a brick wall. Now, that the car option is unavailable proceed further on foot. Take notice that you can open the car's trunk and there is a chance to find some cash there. |
Bain managed to find you a driver to chase Matt. Follow the street forward, you will encounter a small police blockade you will have to shoot your way through. Unfortunately, Bruce is shot by the cops trying to get to you and smashes into a brick wall. Now, that the car option is unavailable proceed further on foot. Take notice that you can open the car's trunk and there is a chance to find some cash there. |
||
| − | + | ===Continue chasing Matt=== |
|
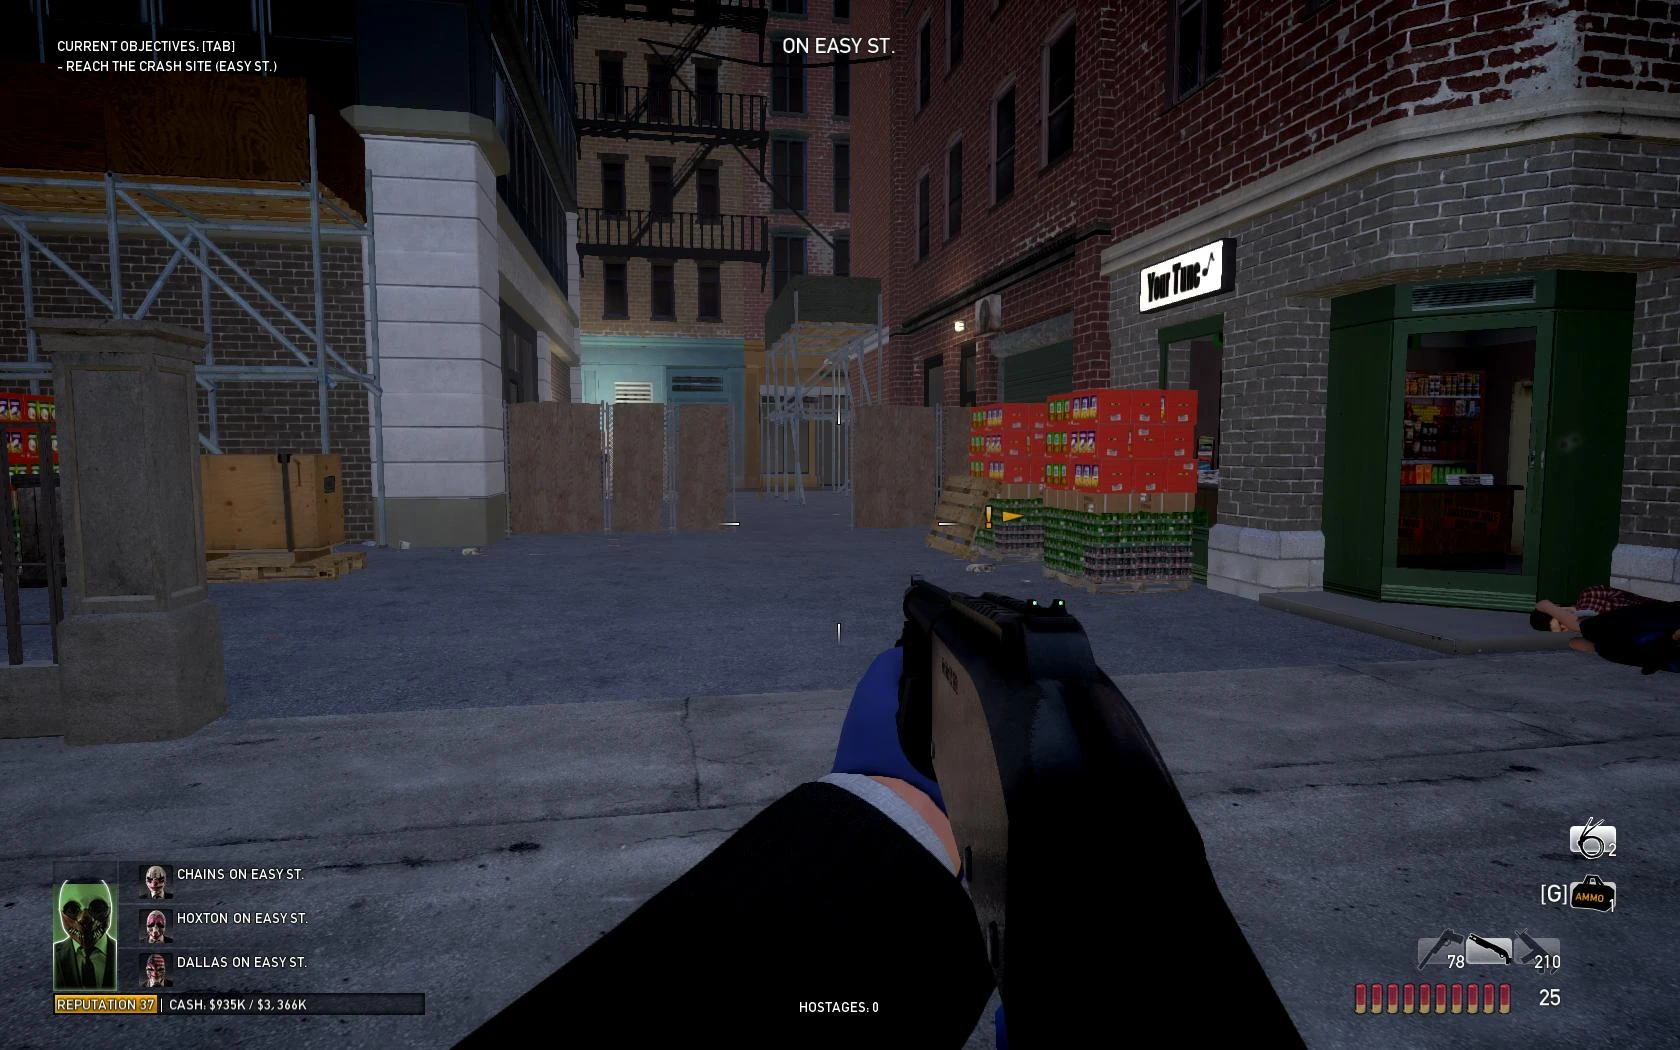
[[File:HeatStreet side alley.jpg|thumb|Some tactical advantage here.]] |
[[File:HeatStreet side alley.jpg|thumb|Some tactical advantage here.]] |
||
This time your way will be blocked by SWAT trucks, so you should take care proceeding through this mission. Cover is sparse here, and if you run too far ahead you can easily be shot down and taken into custody before your teammates can help you! Keep eliminating enemies from cover making it to the building crane right at the centre of the street. There you will hear an ambulance driving nearby - looks like Matt got into some trouble and you need to hurry further down the street to get to him (especially if there is going to be an assault soon, it will save you some time, ammo and health). Take notice that if you run into serious trouble there is a way around the building to the left right after the building crane, you can flank some of the enemy forces and soften them up for your team. An alternative method to getting to the crash site significantly easier is to simply have your entire team rush past the police infested streets straight to the crash site, it is advised you stick to the left hand side of the road. This method is very ideal to getting to the crash site in a small amount of time without wasting health and ammo. It is strongly advised you rush through to the crash site on higher difficulties, especially on Overkill 145+ as if done right your entire team should be at the crash site before the assault even starts and if people don't make it and fall into custody your surviving teammates have time to tie up some civilians and perform a hostage trade. |
This time your way will be blocked by SWAT trucks, so you should take care proceeding through this mission. Cover is sparse here, and if you run too far ahead you can easily be shot down and taken into custody before your teammates can help you! Keep eliminating enemies from cover making it to the building crane right at the centre of the street. There you will hear an ambulance driving nearby - looks like Matt got into some trouble and you need to hurry further down the street to get to him (especially if there is going to be an assault soon, it will save you some time, ammo and health). Take notice that if you run into serious trouble there is a way around the building to the left right after the building crane, you can flank some of the enemy forces and soften them up for your team. An alternative method to getting to the crash site significantly easier is to simply have your entire team rush past the police infested streets straight to the crash site, it is advised you stick to the left hand side of the road. This method is very ideal to getting to the crash site in a small amount of time without wasting health and ammo. It is strongly advised you rush through to the crash site on higher difficulties, especially on Overkill 145+ as if done right your entire team should be at the crash site before the assault even starts and if people don't make it and fall into custody your surviving teammates have time to tie up some civilians and perform a hostage trade. |
||
| − | + | ===Reach the crash site=== |
|
| + | |||
[[File:FWB advertisement.jpg|thumb|First World Bank ads.]]<span style="font-style: normal; ">Keep fighting through until you see an area with an ambulance to your right. There you will find out that Matt has been in an accident, and has yet to escape the scene.</span> |
[[File:FWB advertisement.jpg|thumb|First World Bank ads.]]<span style="font-style: normal; ">Keep fighting through until you see an area with an ambulance to your right. There you will find out that Matt has been in an accident, and has yet to escape the scene.</span> |
||
| − | + | ===Light the van on fire=== |
|
[[File:HeatStreet burning van.jpg|thumb|We don't need no water...]] |
[[File:HeatStreet burning van.jpg|thumb|We don't need no water...]] |
||
Matt, however, isn't ready to give up yet. In order to get him out of the wreckage you will have to burn him out. You will need up to 4 fuel canisters in total to make him get out of the van, so get ready to organize a solid defense at the area. SWAT will spawn from all sides, including the alley at the back of the area. Note also that one of the garage doors in the area may open, revealing a large number of SWAT and possibly a few special units. after they are cleared out, however, it makes excellent cover from the incoming assault waves. All canisters spawn randomly within area that you're defending at the moment, so just look around for an orange outlined object. Once found, the canister will need to be taken back to the van. only one canister can be taken at a time, so only one person will be required to hunt it down. After a random number of 1 to 4 canisters have been entirely burned at the van, Matt will crawl out, a flaming and bleeding mess. However, the mission doesn't end here. Matt has handcuffed the briefcase to his arm! Without ample time to remove it, you and your team are forced to bring Matt to an impromptu evacuation zone, a few blocks away. |
Matt, however, isn't ready to give up yet. In order to get him out of the wreckage you will have to burn him out. You will need up to 4 fuel canisters in total to make him get out of the van, so get ready to organize a solid defense at the area. SWAT will spawn from all sides, including the alley at the back of the area. Note also that one of the garage doors in the area may open, revealing a large number of SWAT and possibly a few special units. after they are cleared out, however, it makes excellent cover from the incoming assault waves. All canisters spawn randomly within area that you're defending at the moment, so just look around for an orange outlined object. Once found, the canister will need to be taken back to the van. only one canister can be taken at a time, so only one person will be required to hunt it down. After a random number of 1 to 4 canisters have been entirely burned at the van, Matt will crawl out, a flaming and bleeding mess. However, the mission doesn't end here. Matt has handcuffed the briefcase to his arm! Without ample time to remove it, you and your team are forced to bring Matt to an impromptu evacuation zone, a few blocks away. |
||
| − | + | ===Force Matt to the the parking lot=== |
|
| + | |||
somehow, after all Matt has been through, he can still stand on his own two feet. so here you will get acquianted with a "You! Get moving" function - you will have to continuously shout at him to make him move. Doing that while being shot at by assault units might be challenging, but that's what you need your team for - fight through to the left of the zone you just defended and take another left to the parking lot where Bain should inform you that he found a pilot who is ready to grab your team and Matt. |
somehow, after all Matt has been through, he can still stand on his own two feet. so here you will get acquianted with a "You! Get moving" function - you will have to continuously shout at him to make him move. Doing that while being shot at by assault units might be challenging, but that's what you need your team for - fight through to the left of the zone you just defended and take another left to the parking lot where Bain should inform you that he found a pilot who is ready to grab your team and Matt. |
||
| − | + | ===Force Matt up the hill=== |
|
[[File:HeatStreet blockade.jpg|thumb|"You shall not pass!" area, so watch for the opened doors here.]] |
[[File:HeatStreet blockade.jpg|thumb|"You shall not pass!" area, so watch for the opened doors here.]] |
||
Now you need to get your crew and Matt to the higher location where Alex (The helicopter pilot) can make it down safely to the street and help you escape the cops. You will encounter a lot of enemy units right after door to the alley opens, so it's recommended you proceed with care. After you take several flights of stairs up you might come face to face with a large SWAT force to the left, but you will have to fight through. Keep your eye on the doors in the nearby buildings - they are randomly opened and give you an opportunity to flank the SWAT who stand in your way. Having taken out the blockade units rush left up the street for the final area of the mission. |
Now you need to get your crew and Matt to the higher location where Alex (The helicopter pilot) can make it down safely to the street and help you escape the cops. You will encounter a lot of enemy units right after door to the alley opens, so it's recommended you proceed with care. After you take several flights of stairs up you might come face to face with a large SWAT force to the left, but you will have to fight through. Keep your eye on the doors in the nearby buildings - they are randomly opened and give you an opportunity to flank the SWAT who stand in your way. Having taken out the blockade units rush left up the street for the final area of the mission. |
||
| − | + | ===Wait for the helicopter=== |
|
| + | |||
Assuming you and Matt made it to the dead end area you will have to wait a bit while Bain confirms that Alex is ready to pick you up. Just stay alive. |
Assuming you and Matt made it to the dead end area you will have to wait a bit while Bain confirms that Alex is ready to pick you up. Just stay alive. |
||
| − | + | ===Clear the zone of cops=== |
|
| + | |||
A little more defensive action here, kill any enemy units you see around until it is safe enough for a helicopter to take you on board without being shot down. |
A little more defensive action here, kill any enemy units you see around until it is safe enough for a helicopter to take you on board without being shot down. |
||
| − | + | ===Move back down to the helicopter=== |
|
| + | |||
If the area is still too hot and you cannot clear the zone of cops fast enough Alex may consider choosing another area to pick you up and decide to move to the bottom area of the street. So move with Matt down a street and prepare for extraction from there. |
If the area is still too hot and you cannot clear the zone of cops fast enough Alex may consider choosing another area to pick you up and decide to move to the bottom area of the street. So move with Matt down a street and prepare for extraction from there. |
||
| − | + | ===Force Matt to the Helicopter and rally there=== |
|
[[File:Helicopter.jpg|thumb|It's always someone to help you out.]] |
[[File:Helicopter.jpg|thumb|It's always someone to help you out.]] |
||
Revision as of 22:49, 18 September 2012
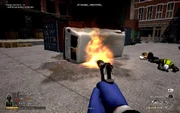
That middle finger was a big mistake.
The second heist on the list is Heat Street - a classic double crossing situation: someone thought he was more clever than us and decided to screw us over by taking the valuables for himself and ratting us out to the police. Half the mission involves chasing down Matt, the other half involves getting away safely.
Walkthrough
Chase down Matt
Pretty simple objective, all you have to do is get out of the starting building, take a right, shoot a few Police Officers along the way. Be wary, however, because there are many civilians running through the streets, and it's all too easy to shoot one that happens to run in-front if you or your enemies. Bain (your contact) will immediately start looking for a way to catch up with Matt.
Meet up with Bruce
Damn, that guy was trying to help.
Bain managed to find you a driver to chase Matt. Follow the street forward, you will encounter a small police blockade you will have to shoot your way through. Unfortunately, Bruce is shot by the cops trying to get to you and smashes into a brick wall. Now, that the car option is unavailable proceed further on foot. Take notice that you can open the car's trunk and there is a chance to find some cash there.
Continue chasing Matt
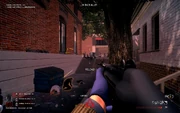
Some tactical advantage here.
This time your way will be blocked by SWAT trucks, so you should take care proceeding through this mission. Cover is sparse here, and if you run too far ahead you can easily be shot down and taken into custody before your teammates can help you! Keep eliminating enemies from cover making it to the building crane right at the centre of the street. There you will hear an ambulance driving nearby - looks like Matt got into some trouble and you need to hurry further down the street to get to him (especially if there is going to be an assault soon, it will save you some time, ammo and health). Take notice that if you run into serious trouble there is a way around the building to the left right after the building crane, you can flank some of the enemy forces and soften them up for your team. An alternative method to getting to the crash site significantly easier is to simply have your entire team rush past the police infested streets straight to the crash site, it is advised you stick to the left hand side of the road. This method is very ideal to getting to the crash site in a small amount of time without wasting health and ammo. It is strongly advised you rush through to the crash site on higher difficulties, especially on Overkill 145+ as if done right your entire team should be at the crash site before the assault even starts and if people don't make it and fall into custody your surviving teammates have time to tie up some civilians and perform a hostage trade.
Reach the crash site

First World Bank ads.
Keep fighting through until you see an area with an ambulance to your right. There you will find out that Matt has been in an accident, and has yet to escape the scene.
Light the van on fire

We don't need no water...
Matt, however, isn't ready to give up yet. In order to get him out of the wreckage you will have to burn him out. You will need up to 4 fuel canisters in total to make him get out of the van, so get ready to organize a solid defense at the area. SWAT will spawn from all sides, including the alley at the back of the area. Note also that one of the garage doors in the area may open, revealing a large number of SWAT and possibly a few special units. after they are cleared out, however, it makes excellent cover from the incoming assault waves. All canisters spawn randomly within area that you're defending at the moment, so just look around for an orange outlined object. Once found, the canister will need to be taken back to the van. only one canister can be taken at a time, so only one person will be required to hunt it down. After a random number of 1 to 4 canisters have been entirely burned at the van, Matt will crawl out, a flaming and bleeding mess. However, the mission doesn't end here. Matt has handcuffed the briefcase to his arm! Without ample time to remove it, you and your team are forced to bring Matt to an impromptu evacuation zone, a few blocks away.
Force Matt to the the parking lot
somehow, after all Matt has been through, he can still stand on his own two feet. so here you will get acquianted with a "You! Get moving" function - you will have to continuously shout at him to make him move. Doing that while being shot at by assault units might be challenging, but that's what you need your team for - fight through to the left of the zone you just defended and take another left to the parking lot where Bain should inform you that he found a pilot who is ready to grab your team and Matt.
Force Matt up the hill

"You shall not pass!" area, so watch for the opened doors here.
Now you need to get your crew and Matt to the higher location where Alex (The helicopter pilot) can make it down safely to the street and help you escape the cops. You will encounter a lot of enemy units right after door to the alley opens, so it's recommended you proceed with care. After you take several flights of stairs up you might come face to face with a large SWAT force to the left, but you will have to fight through. Keep your eye on the doors in the nearby buildings - they are randomly opened and give you an opportunity to flank the SWAT who stand in your way. Having taken out the blockade units rush left up the street for the final area of the mission.
Wait for the helicopter
Assuming you and Matt made it to the dead end area you will have to wait a bit while Bain confirms that Alex is ready to pick you up. Just stay alive.
Clear the zone of cops
A little more defensive action here, kill any enemy units you see around until it is safe enough for a helicopter to take you on board without being shot down.
Move back down to the helicopter
If the area is still too hot and you cannot clear the zone of cops fast enough Alex may consider choosing another area to pick you up and decide to move to the bottom area of the street. So move with Matt down a street and prepare for extraction from there.
Force Matt to the Helicopter and rally there

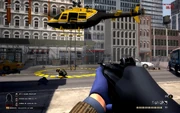
It's always someone to help you out.
Now you can actually see the helicopter, so all you need to do is shout at Matt to get his sorry arse to the evacuation zone and group up under the helicopter to finish the mission.
Unique achievements
Stand together
Complete the heist on normal difficulty or above without anyone getting downed. You will have to have played the heist from the start.
Easy street
Complete Heat Street on Overkill difficulty with your crew accuracy being at 60% or higher. Everyone in your crew will have to have played the heist from the start. Group accuracy statistics can be seen at the end of the heist regardless of the outcome.
Recommendations:
- Each crew member carries an M308, which is unlocked at Sharpshooter level 17, because of its accuracy and semi-automatic firing mode.
- One or two Sharpshooter crew bonuses.
- M308 red dot sight, unlocked at Sharpshooter level 31.
- If you don't intend to be rescued from custody, then shoot civilians to increase your accuracy rating.
Template:Navbox general